Camp cooking is one of my favorite things to do outdoors. In this article I want to explore some easy diy solutions. That will help suit all your camp cooking needs. Learn how to make a diy camping stove and a makeshift dutch oven.

Fire Setup and Management
When it comes to outdoor cooking. The first thing you'll have to do is build a fire. Fire building is a very broad topic. Here ill just talk about a few different ways one can build a fire for cooking.
1. Choosing The Right Fire Setup:
To choose the right fire setup, you’ll have to choose the right base. I suggest that you opt for a base of rocks.
Choose Your Location: Select a safe location for your fire pit. Ensure it’s away from any flammables you don’t want to burn and in an open area.
Lay the Foundation: Clear the ground and make a base by arranging the larger rocks in a circular or a square shape to form the perimeter of the fire pit. Ensure that the rocks are sturdy and level.
Build the Walls: Stack more rocks on top of the base rocks, layer by layer, to create walls for the fire pit. Leave spaces between the rocks for airflow to keep the fire burning.
Create Your Adjustable Grate: If you want an adjustable cooking grate, you can use either metal rods or bars laid across the top of the fire pit walls (another alternative could even be a coat hanger). These will hold your grill grate at different heights. Make sure these are stable and thick enough to withstand the heat.
Insert the Grate: Place your grill grate or cast iron pan on the metal rods or bars. You can adjust the height by adding or removing rods or bars.
Test the Setup: Before you start cooking, test your fire pit by starting a small fire and ensuring that it burns safely without any rocks shifting or collapsing.
Cooking: Once the fire is going and at the heat you want, you can start cooking! I suggest that you use some kind of gloves whether they’re leather or some kind of other fireproof material, and metal tongs for handling the cooking utensils. Adjust the height of the grill as needed for different cooking temperatures.
Things To Think About:
- Use rocks that can handle high temperatures without exploding or violently cracking due to heat. Trust me the last thing you want to happen, is for the rock walls of your fire pit to start exploding like hand grenades. The main thing to remember with rocks, is to never use rocks with moisture in them, AKA river rocks. When they heat up the water inside of them will boil, and in the end they’ll end up exploding.
- Ensure good airflow by leaving small gaps between the rocks.
- Clean the grill grate after each time you use it to prevent buildup.
Something else to think about is of course the fuel source for your fire.
As far as woods go I always opt for some kind of hardwoods, such as oak, maple, or hickory. You can by all means use softwoods however, for cooking purposes I strongly suggest against it most softwoods will create far too much smoke, possibly making your food have a rancid taste. If you want more information on the best wood for campfires, or for cooking. Feel free to read my article on it below.
Tinder Selection
There is no end to all the tinder sources out there. Some of my favorite ones are birch bark, (if you can find it that is) pine needles, or my personal favorite fat wood. Fat woods are woods that contain resinous material inside of them and are great at starting fires.

Cookware
Cookware is the next thing to consider when it comes to camp cooking. Instead of giving you a product review, I thought I would give you some diy solutions for your cooking needs.
DIY Dutch Oven
Materials:
- Two cooking pots (one larger, one smaller) – preferably with handles
- Heat-resistant insulation (such as thick towels or oven mitts)
- Heavy-duty aluminum foil
Steps:
Prepare the Pots:
- Ensure both pots are oven-safe and have handles that will withstand high temperatures.
- Make sure the pots are clean before using them for cooking.
Create Insulation:
- Roll up thick towels or use oven mitts to create a layer of insulation. This will help maintain heat and create a buffer between the pots.
Fit the Smaller Pot Inside the Larger One:
- Place your insulation material at the bottom of the larger pot.
- Nest the smaller pot inside the larger one. The insulation needs to be between the bottoms of both pots.
Create a Seal:
- To seal the space between the pots, crumple heavy-duty aluminum foil and place it along the edges where the pots meet. This will help trap heat and steam inside, mimicking the functionality of a Dutch oven.
Cooking:
- Place your food inside the smaller pot.
- Cover the larger pot with its lid to make an enclosed cooking space.
- Place the DIY Dutch over your campfire ensuring the handles are not exposed to direct flames.
Skewers
I thought I would include a small article on some alternatives to skewers
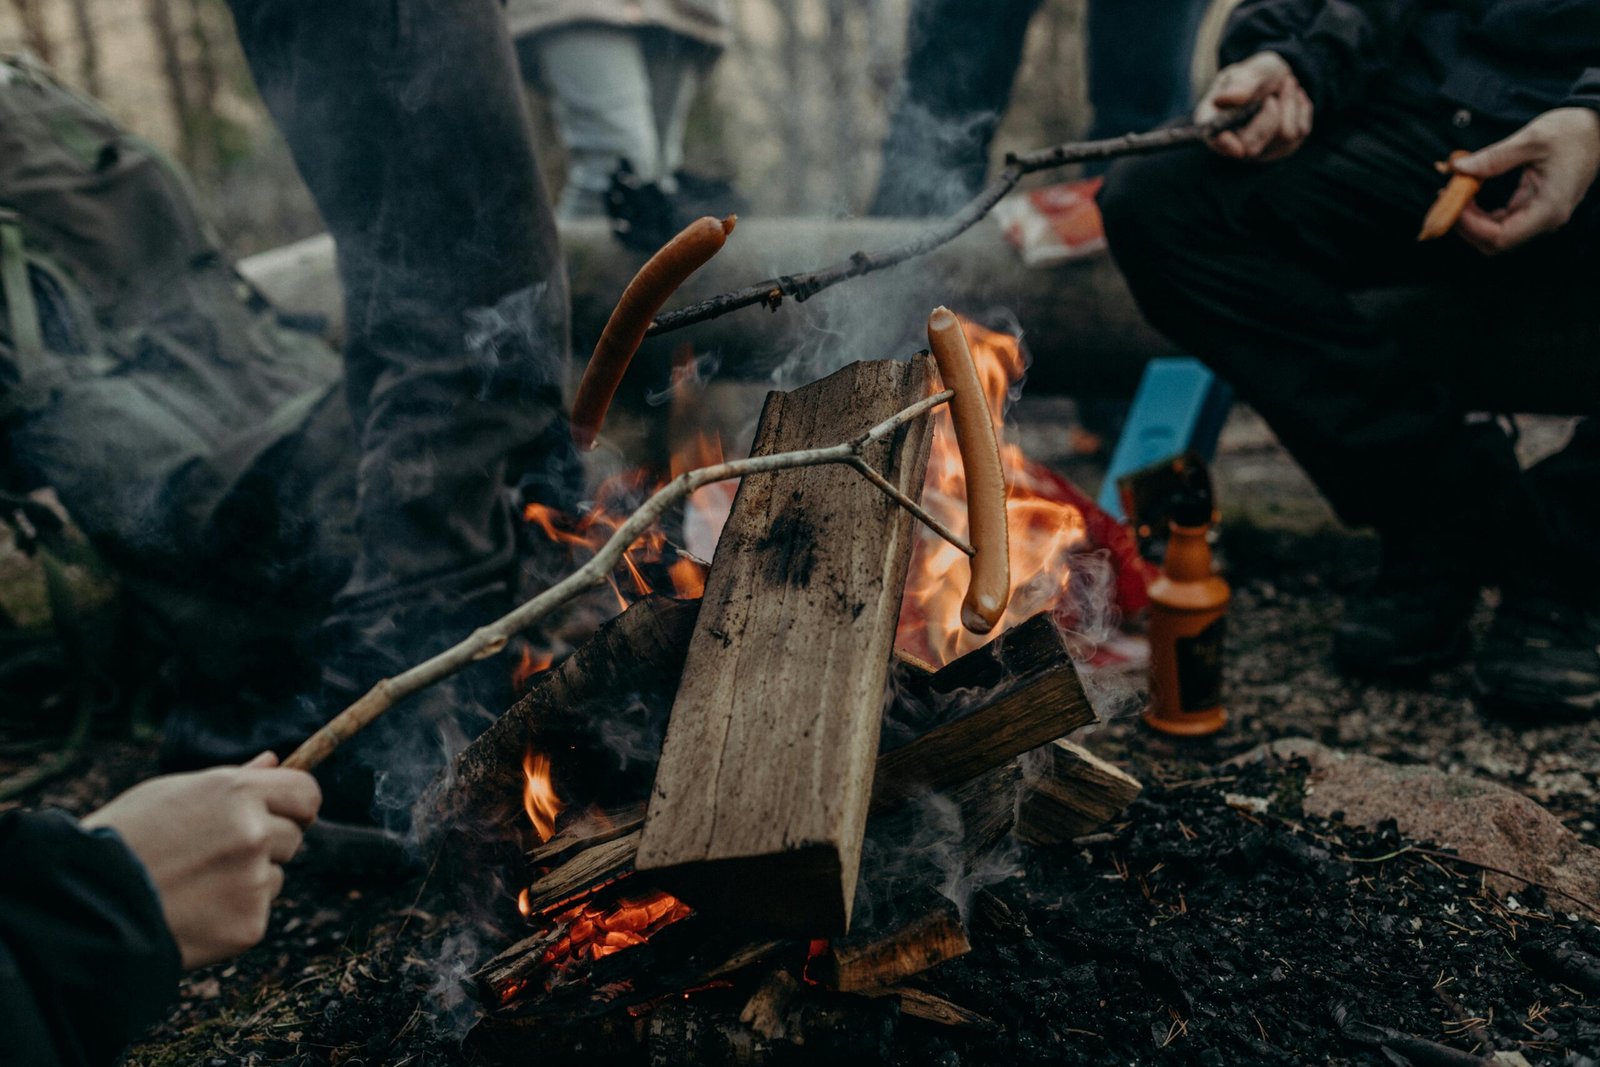
Some skewer alternatives I like to use are green tree branches or saplings. Particularly non toxic ones, non toxic ones would include but would not be limited to trees such as hazels or willows also if you see any fruit trees those are a good option as well.
Another option would be things like coat hangers or or even a fork attached to a stick would be a good option.
In Conclusion
Outdoor cooking is a very broad topic, and I by no means covered all of the diy camp cooking alternatives that are available. These are just a few that I have had good experiences using my self.
Here’s a few other articles you may be interested in.